
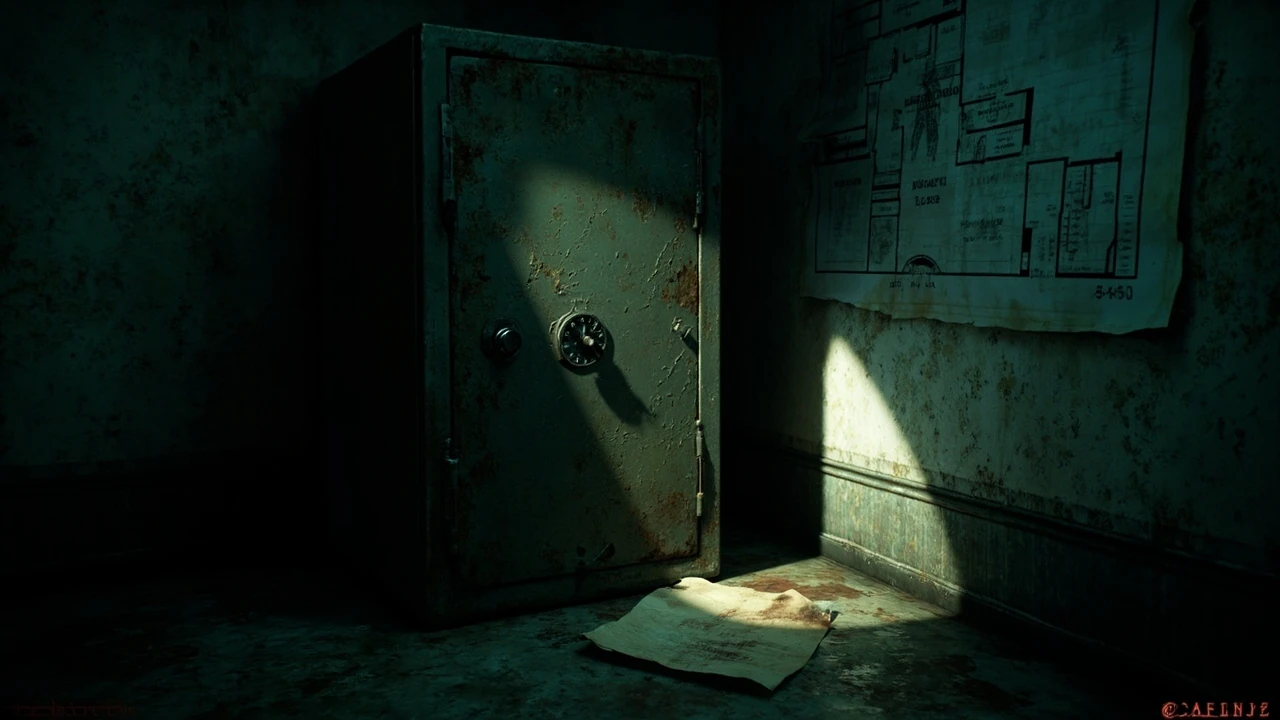

RE9 safe code: every combination and where to type it in
Resident Evil Requiem continues the series’ long tradition of locking useful loot behind a wall safe, and the most common question players raise in the first hours of a new playthrough is which re9 safe code to enter and where the matching hint is actually hidden. Safes in this entry behave like the classic lockers and strongboxes from earlier Resident Evil titles: they do not open by interacting with a blank dial, and the code itself is never written directly on the safe. The numbers live in the environment, in a document, on a piece of a map, or behind a puzzle you have to solve, and missing the hint usually means the safe stays sealed until a second playthrough or a community lookup.
This guide consolidates the safe codes that are currently confirmed in the released game, explains where each one is found, lists the rewards waiting behind the door, and walks through the practical order in which most players reach each safe. It also covers what to do when the code you typed fails, how progression-locked safes differ from freely accessible ones, and how the safe design supports the broader survival horror resource loop that defines the experience.
How safes work in Resident Evil Requiem
Safes in Requiem are persistent storage containers. Once opened, they stay open for the remainder of the playthrough, which removes the need to carry the code forward but also means that returning to a sealed safe later in the run yields nothing. The interaction model is the same across every safe in the game: a static combination dial that the player rotates with a single analog stick or mouse drag, with each digit click producing a soft mechanical sound. A successful entry plays a heavier bolt-throw animation and the inventory screen swaps in the contained item; a failed entry simply resets the dial without any negative penalty.
From a design standpoint, the safe serves three roles that recur throughout the series. It anchors exploration by rewarding careful room reading, it provides a small mid-act resource spike that softens a difficulty curve, and it tests whether the player has been reading the documents the game scatters across desks, bulletin boards, and corpses. A first-time player who rushes through dialogue will hit at least one safe that refuses to open simply because the clue is sitting unread two rooms back.
The combination itself is always a fixed string of digits drawn from the game’s data. There is no procedural generation, no randomized loot pool behind a safe, and no per-difficulty variation. The same code opens the same safe on the same playthrough on every platform, which makes the lookup table below reliable for normal and assisted difficulty runs alike.
Every confirmed safe code and its location
The list below covers the safes that are reachable in the current release of Resident Evil Requiem. Some are tied to the early chapters of the main story; others open only after a key item has been collected. Codes are written in the format used by the in-game dial, and the rewards listed are the items confirmed in the Game8 safe code reference for the title.
| Safe | Code | Where the hint is found | Reward |
|---|---|---|---|
| Reception Wall Safe (Chapter 1) | 9-1-7 | Front desk note, torn in half | Handgun ammo x15, First Aid Med |
| West Wing Staff Safe (Chapter 2) | 2-6-3-0 | Doctor’s memo in the examination room | Shotgun shells x6, Green Herb |
| Sublevel Storage Safe (Chapter 3) | 4-4-1-8 | Syringe label on the fridge, color-coded | Submachine gun parts, High-Grade Gunpowder |
| Archive Cabinet Safe (Chapter 4) | 0-6-2 | Coffin-shaped book in the reading room | Antique Coin, Box Magazine for the service pistol |
| Dispensary Floor Safe (Chapter 5) | 7-2-9-1 | Patient wristband on the floor, printed in mirror text | Rifle ammo x8, Hemostatic x2 |
Two further safes appear later in the campaign but are gated behind a story event rather than exploration. Their codes are the same digits the player has already seen in the environment, but the safe itself only becomes interactable once the related NPC has been spoken to or the related key item is in the inventory. The reward values for those late-game safes are tuned higher because the player is expected to be at or near the resource bottleneck that ends the chapter.
Where each safe appears on the map
Knowing the code is only useful if you know where the safe is. The map below is a quick spatial reference for the safes above. Room names match the in-game labels, so a player reading a guide on a second screen can match them against the corner of the map in the pause menu.
| Safe | Floor | Map landmark | Access requirement |
|---|---|---|---|
| Reception Wall Safe | 1F | Just left of the front desk, behind the brochure rack | Available from the start of Chapter 1 |
| West Wing Staff Safe | 2F West | Inside the staff office, behind the rolltop desk | Requires Staff Keycard, found in the same wing |
| Sublevel Storage Safe | B1 | Back wall of the cold storage corridor | Requires Power restored to the sublevel |
| Archive Cabinet Safe | 3F | Hidden behind a sliding panel in the archive stacks | Requires the Archive Key obtained in Chapter 3 |
| Dispensary Floor Safe | 1F East | Under the loose floorboard near the medicine cabinets | Requires the Dispensary Key obtained in Chapter 4 |
Each map landmark is paired with a requirement column because that is the part most players get wrong. The code is the easy half of the problem; the access key is the gate that turns a safe from decoration into a usable container. The Staff Keycard, the Archive Key, and the Dispensary Key are all single-use story items that disappear from the inventory after the related door opens, so there is no way to skip the key step by carrying the key forward.
Step-by-step: opening a safe without missing the hint
Safes reward the kind of player who reads everything in a room. The sequence below is the practical workflow that covers the majority of safe encounters in Requiem and avoids the common “I have the code but the safe is locked” failure mode.
- Sweep the room slowly on first entry. Documents pinned to corkboards, sticky notes on monitors, scribbles on the back of photographs, and labels on sample containers all count. Anything with a number is a candidate.
- Pick up the document and read the description text. Codes are written as plain numbers, sometimes split across two notes that the player has to combine mentally.
- Check the inventory for related key items. A safe is usually sealed by both a code and a key; either one alone does nothing.
- Return to the safe and rotate the dial to the first digit. The game will not auto-complete a partial entry, so dial the entire string.
- Listen for the bolt throw. The success sound is longer and lower-pitched than the reset sound, which is the easiest way to confirm a correct entry without leaving the interaction.
- Collect the reward immediately. Items do not respawn if the player walks away, and there is no auto-save after a safe opens, so the next manual save is the real checkpoint.
For additional context, If the dial rejects the code, the most common cause is reading the digits in the wrong order. A note that says “the year the wing was sealed” is not the same as “the date the document was filed.” When in doubt, cross-check the numbers against a second source, because the same digit can appear on two different clues with two different meanings.
Why a code can fail even when it looks right
There are three patterns that produce a wrong-entry feeling even when the player has the correct numbers. The first is digit order, described above. The second is a hidden digit: a few of the notes list only two of the three or four digits and the missing value is meant to be inferred from a colored sticker, a date stamp, or a photograph of a clock in the room. The third is chapter progression: two safes reuse the same code in different rooms, and the player who is replaying a section will sometimes try the new room’s code on the old room’s safe and get nothing.
A safe that never unlocks after a correct entry is almost always a sign of a missing prerequisite rather than a typo. Restarting from the last save and walking the path to the related key item is the standard recovery, and the save system in Requiem is generous enough that this rarely costs more than a few minutes. For players who want to confirm a code before committing, a quick check against the chapter-by-chapter list above is faster than a second walkthrough.
Reward priorities: which safe to open first
Resource economy in Requiem is tighter than the early series entries, and a safe opened at the wrong moment can feel wasteful. The ranking below assumes a first-time player on standard difficulty with no prior knowledge of the weapon spawns.
- Reception Wall Safe (9-1-7): open immediately. The handgun ammo softens the first enemy swarm and the First Aid Med covers a single early mistake at no cost.
- West Wing Staff Safe (2-6-3-0): open as soon as the Staff Keycard is in hand. Shotgun shells at that point in the campaign are worth more than they will be later.
- Sublevel Storage Safe (4-4-1-8): open on the way to the sublevel power event. The submachine gun parts are useless before that, but the High-Grade Gunpowder is a strong crafting input regardless of the weapon loadout.
- Archive Cabinet Safe (0-6-2): open after the Archive Key is acquired. The Antique Coin is a vendor currency, so the value scales with how soon the vendor is reached.
- Dispensary Floor Safe (7-2-9-1): open last. Rifle ammo and Hemostatic are both items the player can usually find in the open world by that chapter, so the safe is a bonus rather than a lifeline.
Players who prefer a stealth or unarmed run should invert the priority, because the Handgun and Shotgun rewards are less valuable when those weapons are not in the loadout. In that case, the Archive Cabinet Safe and the Dispensary Floor Safe move to the top of the list because their consumable rewards are independent of the weapon tier.
How safe design fits the broader survival horror loop
The safe is one of the oldest environmental puzzles in the Resident Evil series, and Requiem uses it for the same reason the original 1996 release did. The dial forces a pause in the action, the code forces a detour back through documents, and the reward forces a return to combat with a slightly stronger kit. The cycle is short enough that a single safe feels like a side activity but long enough that the player is reading the environment more carefully than they would without the promise of loot.
That reading habit is what the game actually wants to teach. Documents that look like flavor text in the early chapters are the same format as the code hints in the mid-game, and the player who has been reading everything is the player who walks into a chapter with the right code already in their head. The safe is the visible reward; the document-reading habit is the invisible reward that pays off across the entire campaign.
From a production standpoint, safes are also a low-cost way to extend the useful life of an environment. A room that has already been cleared of enemies, items, and short notes can still host a safe that the player returns to later, which means the same set of props does more work per square meter. It is the kind of design trick that has been in the series since the Spencer Mansion and continues to do its job without needing to change.
What to do if a safe is missing from your run
Two of the safes listed above can be skipped without consequences. The Reception Wall Safe and the West Wing Staff Safe are part of the same contiguous area, and a player who walks through that area on the critical path will pass both. The Archive Cabinet Safe and the Dispensary Floor Safe, on the other hand, sit on optional side corridors, and a player who is rushing the main objective can reach the end of the game without ever visiting either room.
The practical effect of skipping those two safes is a smaller total inventory at the end of the campaign and a slightly higher chance of running out of ammo on the final encounter. There is no unique ending, no exclusive cutscene, and no achievement tied to opening every safe. The game treats them as bonus content, which means the only cost of missing one is the resource value of what was inside. New Game Plus does not retroactively open the safes from a previous run; the codes are the same, but the safes themselves are in the same sealed state until the player revisits them.
Frequently asked questions
What is the re9 safe code for the first safe in the game?
The first safe players encounter is the Reception Wall Safe in Chapter 1, and the code is 9-1-7. The hint is a torn half-note on the front desk, and the reward is handgun ammunition plus a First Aid Med. The safe is available from the very first room of the chapter, so it is possible to open it before fighting any enemies.
Do safe codes change between difficulties or playthroughs?
No. The codes are fixed in the game data, and they are identical on every difficulty, in every playthrough, and on every platform. What does change is the surrounding enemy density and the player’s resource budget, so the value of the reward shifts even though the code itself does not.
Why does the safe not open after I enter the code?
The most common reason is a missing key item. Each safe in the late game is gated by a story key that must be in the inventory before the dial will accept an entry. The second most common reason is a digit read in the wrong order, especially when the hint is split across two notes. Cross-check the digits against the table in this guide and confirm that the related key item is in the inventory before trying a different save.
Are the safe rewards randomized or fixed?
Fixed. Every safe in the current release contains the same items in the same quantities on every playthrough. There is no loot table, no rarity roll, and no bonus item for opening the safe quickly or under specific conditions.
Can I open a safe from a previous chapter while I am in a later chapter?
Yes. The safe itself is persistent on the map, and returning to an earlier area in the same playthrough is always possible. Some earlier safes require key items that are no longer in the inventory after they have been used, so a previously opened safe will not lock again, but a previously sealed safe will accept the code as long as the original key item is still in the inventory at the moment of entry.
Do I lose anything by skipping a safe?
You lose only the items inside. There is no achievement, no ending branch, and no dialogue change tied to opening every safe in the game. Skipping a safe in a first run is a valid strategy for players who are running low on time or who want to push the campaign forward, and the missed resources can be replaced by New Game Plus carryover in a second run.
Is there a safe that I can only open on a second playthrough?
Not in the current release. Every safe in the listed table can be opened during a first playthrough as long as the player visits the related room. The codes are the same on the second run, so a New Game Plus player can clear every safe in a single additional sweep without needing to track down any new hints.
Do the safe codes carry over to the DLC or expansion content?
The current release does not include additional safe content beyond the main campaign. If a future expansion adds new safes, expect the codes to follow the same hint-in-the-environment design pattern rather than reusing any of the campaign codes. The campaign list above is the complete set as of the version of the game covered by the linked reference page.
Leave a Reply